


GEEK this
look with the following materials:
- More Ikea
DIODER light strips
- Shelving
units form previous blog entry
- Option:
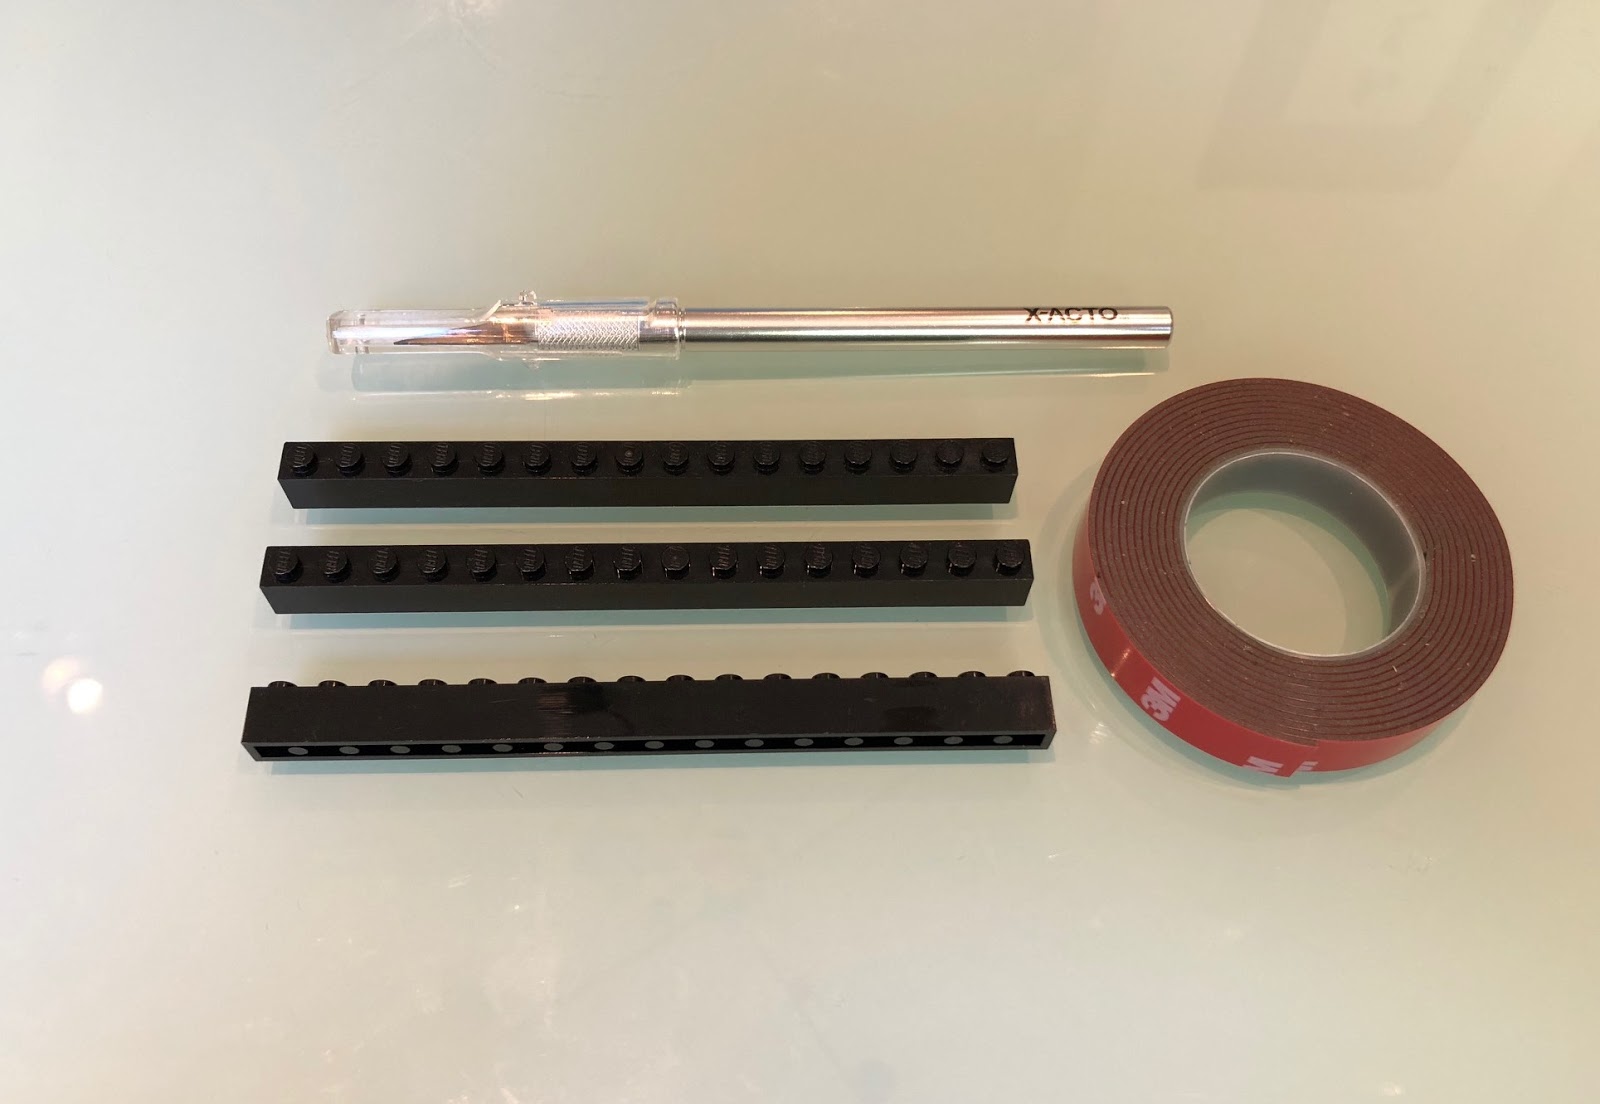
Black Lego brick (3 Quantity: any size from 1x2 to 1x14)
- Option:
Double stick tape and X-acto knife
DIY (Do It
Yourself) by following these steps:
- Stick DIODER
light strips onto VITTSJO double unit where the vertical center bars use to
belong (right below glass shelf to add support)
- Option:
Apply double stick tape onto one side of a Lego brick and stick Lego brick onto
VITTSJO double unit where the vertical center bars use to belong (right below
glass shelf to add support)
BAM! Glass
Support!
This is part
4 of my giant Lego Star Wars display wall. This fourth step is to add support
to the glass shelving on the Ikea VITTSJO. From the previous
blog entry, I removed the vertical center bars from the double units … well,
those bars also contained “L” shaped brackets to help support the center of the
glass shelves. To replace these brackets, I added more Ikea DIODER light strips ... and in some places, I also stuck Lego bricks to replace some of these “L”
brackets. You can just use all light strips if you want, but I thought that
would be lighting overkill. Now that the middle of the glass shelves have
support, it’s time for the final step of his DIY project (part 5) … so stay
tune.
No comments:
Post a Comment